
Note: This post will be updated as Google updates any information.
Most digital marketers are familiar with Google Analytics and the troves of data it gives us. And by now, you have probably heard of the latest generation of Google Analytics known as GA4. But as with any change, there may be some hesitancy in adopting a new platform, especially when it’s a drastic change from what you are used to. So as a result, many of us have yet to fully dive into GA4. Hopefully, you have added GA4 to your Google Analytics account by now, even if you are not yet comfortable using it. That’s because, at some point, GA4 will be the standard, and if you are not collecting GA4 data now, you won’t have any historical data to reference when you finally do take it upon yourself to adopt it. That being said, let’s cover how to add GA4 to your analytics account.
Adding GA4 to Google Analytics
To start, we’ll assume you have a GA3 account currently. So go ahead and log in to your current account (https://analytics.google.com/). Next, click on the Admin icon/menu link at the bottom of the left-hand column menu.
From the middle (Property) column, select GA4 Setup Assistant, then click the blue “Get Started” button.

On the pop-up screen, click the blue “Create Property” button at the lower right. (You can review this screen info, but don’t let it scare you. We’ll walk you through all the steps you need for a successful install. (Don’t select the “Enable data collection using your existing tags” checkbox.)
That’s it! Your GA4 account has been created.

But we’re still not quite done. Much like GA3, we have to add the tracking code to your website in order for it to start collecting your new data. This process is identical to the steps you used to add the traditional GA3 code. That means you either need to manually add it to your website, or add it through a Google Tag Manager account if you have one. If you don’t have Tag Manager installed, you may want to consider that now as it is a great Google product that will make tracking tags and pixels easy. You can learn more here.
To get the necessary GA4 code for your site, you will want to click on the blue “See your GA4 property” button. As the button indicates, this will take you to your new GA4 property, where, after a few steps, you can find your tracking code.
First, make sure you are on the “Property” column for your new GA4 property. Select “Data Streams”, and highlight the “Web” selection. Then click on the blue “Add Stream” button at the right.

You will now come to the Web Stream Details screen. (You may want to make note of the “Measurement ID”, especially if using Tag Manager.) From the “Add new on-page tag” from the Tagging Instructions section, select the “Global site tag” option if adding directly to your website, or the Google Tag Manager if using GTM to add code.

Global site tag:

Now copy and paste this code into the “Head” section of your website. For WordPress users, we suggest using the “Insert Headers and Footers” plugin, which makes this task easy.

Now, just copy and paste it into the head section of the plugin page.

So now it looks like this. Then click “save”.

That’s it! You are now tracking website activity in both GA3 and GA4.
What’s New, Different & Better in GA4
Google Analytics 4 (GA4) should not be considered as just an upgrade to Universal Analytics (UA or GA3), but a whole new version that, unlike GA3, is based on events and not just sessions and users. In GA3, to track events required the use of Google Tag Manager to set up the events you wished to track. GA4 comes with several of these event tracking features “built-in”.
Because it is event-based instead of traffic-based (in GA4, even a ‘pageview’ is considered an ‘event’), you will see a completely different set of default reports than you’re used to seeing in GA3. This can be a little intimidating at first and is one reason that users of the new Analytics can be put off.
When you first log in to GA4, you won’t see many reports because the event tracking needs to collect data for the event-based reports. This is why you should be adopting GA4 now and tracking those events in order to collect historical data.
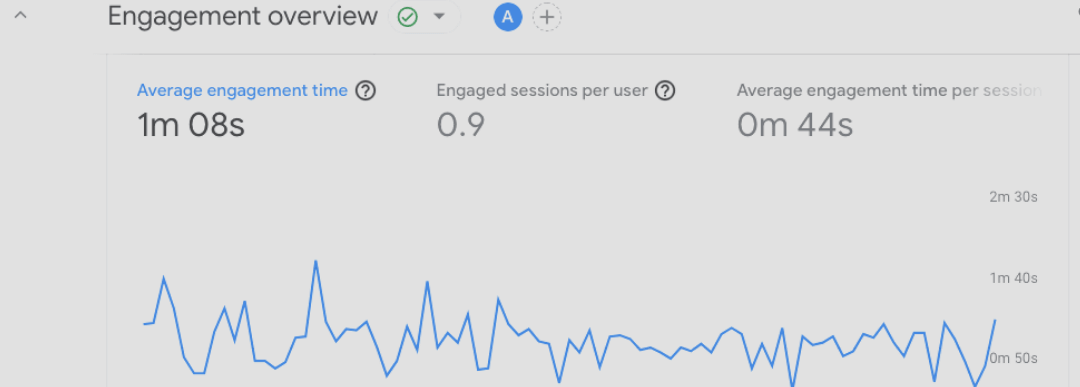
But to dip your toes in the water, after some time collecting new data has passed, click on the “Reports” tab, and then “Reports snapshot”. Here you will see the difference between just seeing “users” as you might in GA3, versus seeing “users” and all their related metrics in GA4. Scroll down and explore “Acquisitions” and “Engagements” for a taste of all the metrics at your fingertips.
In a future blog post, we will explore GA4 in more depth, including setting up events not tracked by default. Stay tuned!